You have options when it comes to how your event looks to attendees on your landing page!
On your event landing page, looks matter! A great looking landing page can attract the attention of a potential attendee. Make that potential attendee a confirmed attendee!
- From the Events page, click on your event.
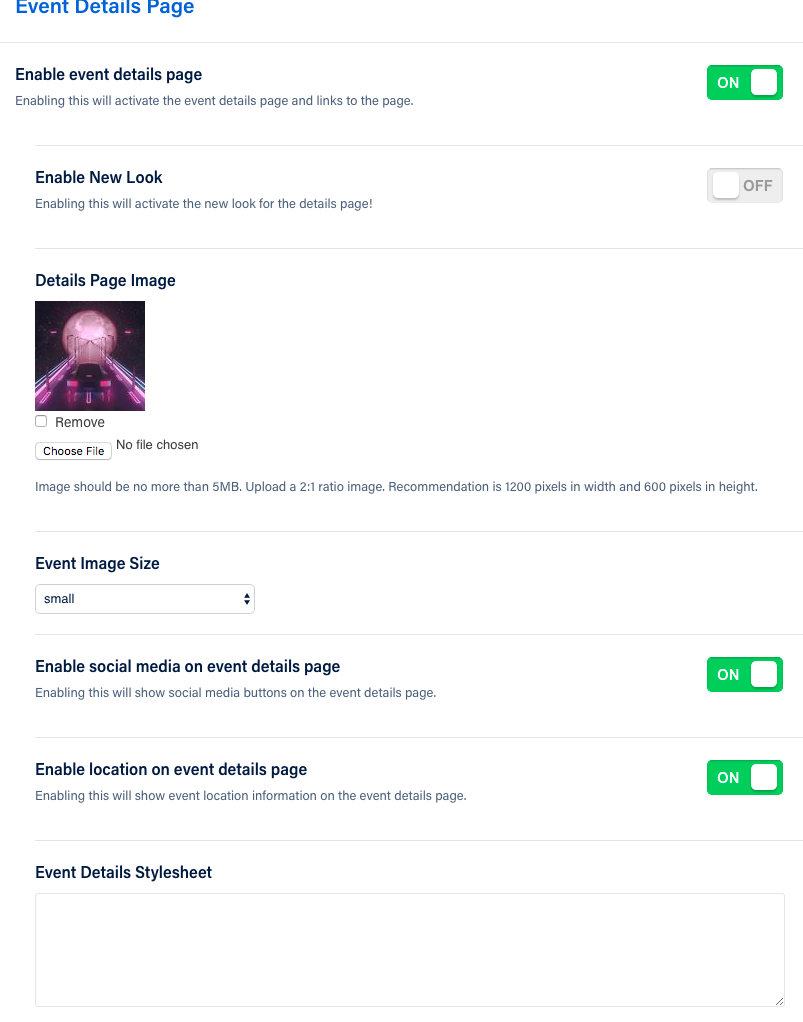
- Click on Event Settings.
- In the Event Details section, click Enable New Look.

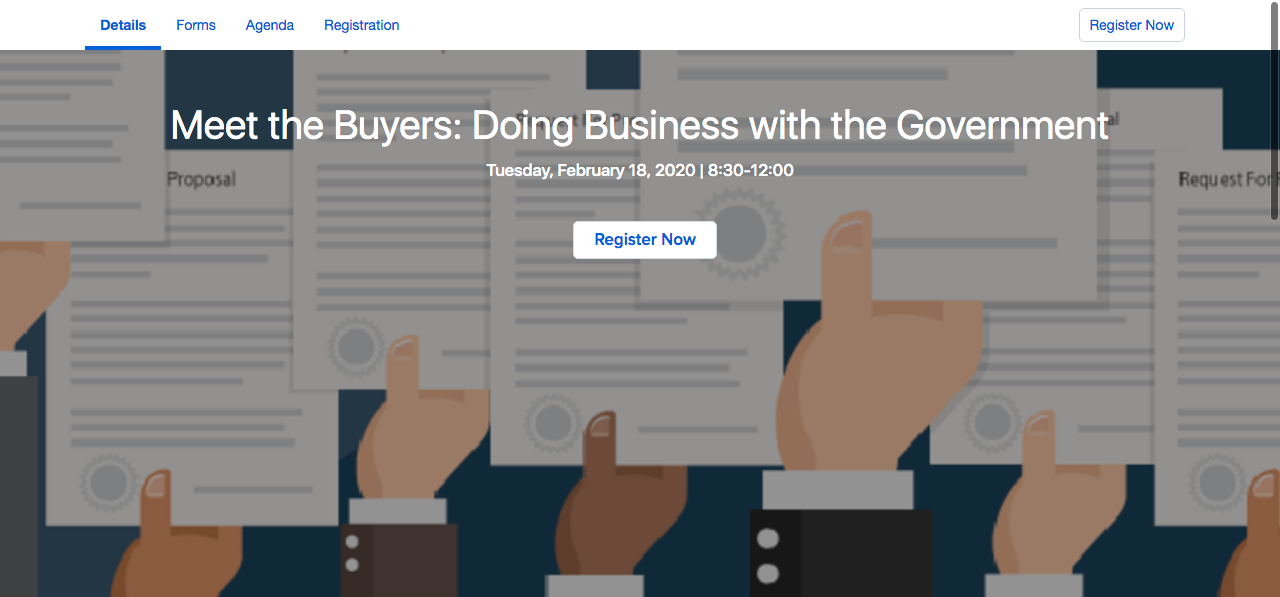
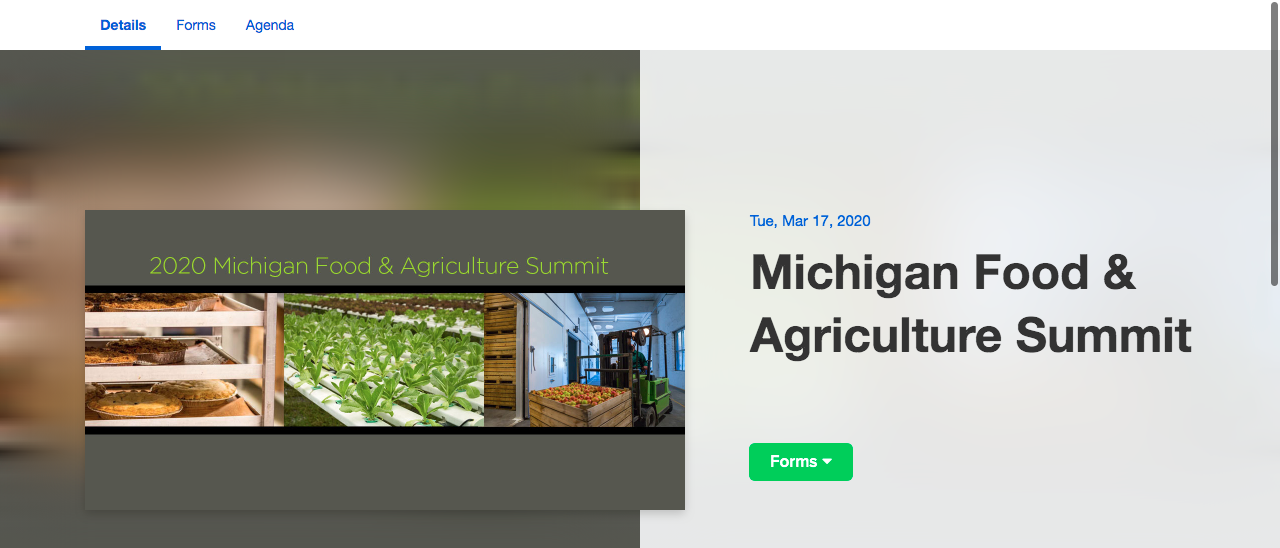
The background image you previously added will change, as follows:
"Old Look"

"New Look"

The New Look creates an inset box of your image, with a "blurred" background in the same color scheme. Sure to stand out to your Attendees!
If you'd like to customize the page further, take advantage of the Event Details Stylesheet option. Below are some examples to use:
Replace Background of Top Section With A Solid Color
.event-details-hero-right-filter {
    width: 100%;
    background-color: rgba(250,250,250,1.0);
}
Hide Background of Top Section Completely
.event-details-hero-wrapper-new {
  opacity: 0;
}
Change Event Title Text Color
h1 .textFitted{
 color: white;
}

.event-date-details{
 color: white;
}

.event-header{
 color: white;
}
Change Top Background Image
.event-details-hero-wrapper-new {
  background: url(<replace with your image url>)no-repeat center center !important;
  background-size: cover !important;
}
Change Background Color of Event Image Card
.event-details-background-main-image-blur-absolute{
  background-color: rgba(255,255,255,1.0);
}
Also, use the Event Details page to enable your Social Media and Event Location (in a map).
Did this answer your question?