Read here to learn how to gather feedback from your attendees.
Event Surveys
What did your attendees think of your event? What did they think of the event content, of the speakers, of the food? Gather that feedback and more with event surveys!
1) Click Surveys in the Side Navigation.
2) Click the Event Survey button.
3) Click Create Survey.

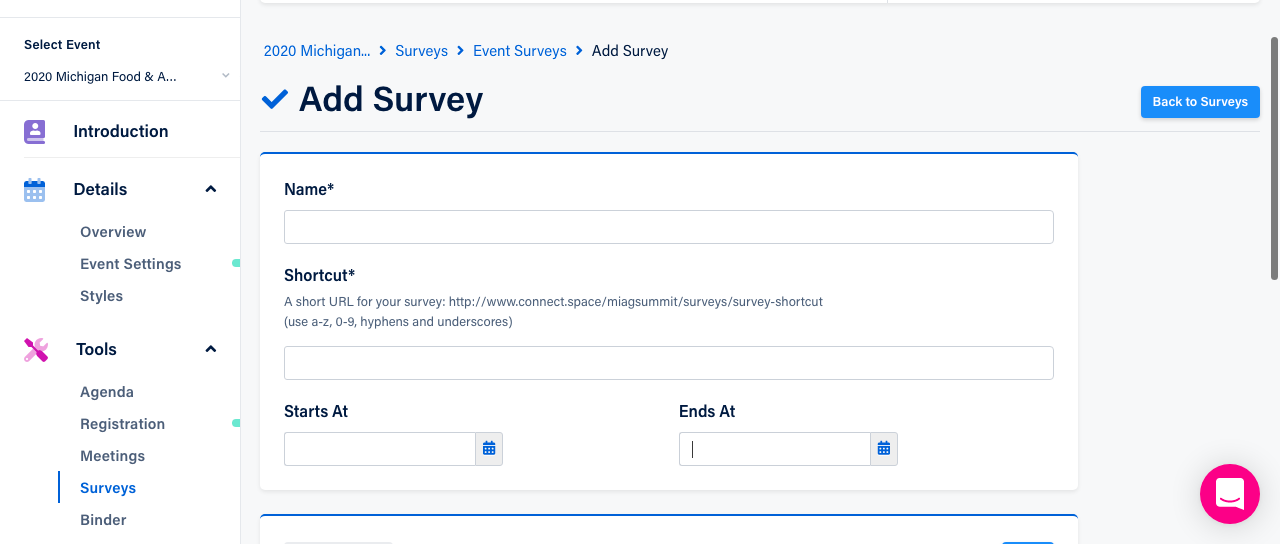
4) Name your survey; the name will automatically populate the URL shortcut field.
5) Enter the start and end dates, and click Next.
6) Type a question in the Question box and select your response options. You can choose from the following options:
- Enable star ratings;
- Enable comment box;
- Enable answers; and
- Archive Question.
Note: Archiving a question removes it from the Attendee’s view of the survey, but does not delete it. You will still see the question when you’re logged in with your Planner account, but it will be marked as archived.
7) To create custom responses, check the Enable answers box. Upon checking the box, the Answers section will appear. There, you can add the answers you want your Attendees to choose from.
8) Click the Submit button.
Session Surveys
A great way to elicit further feed back from your attendees!
1) Click Surveys in the Side Navigation.
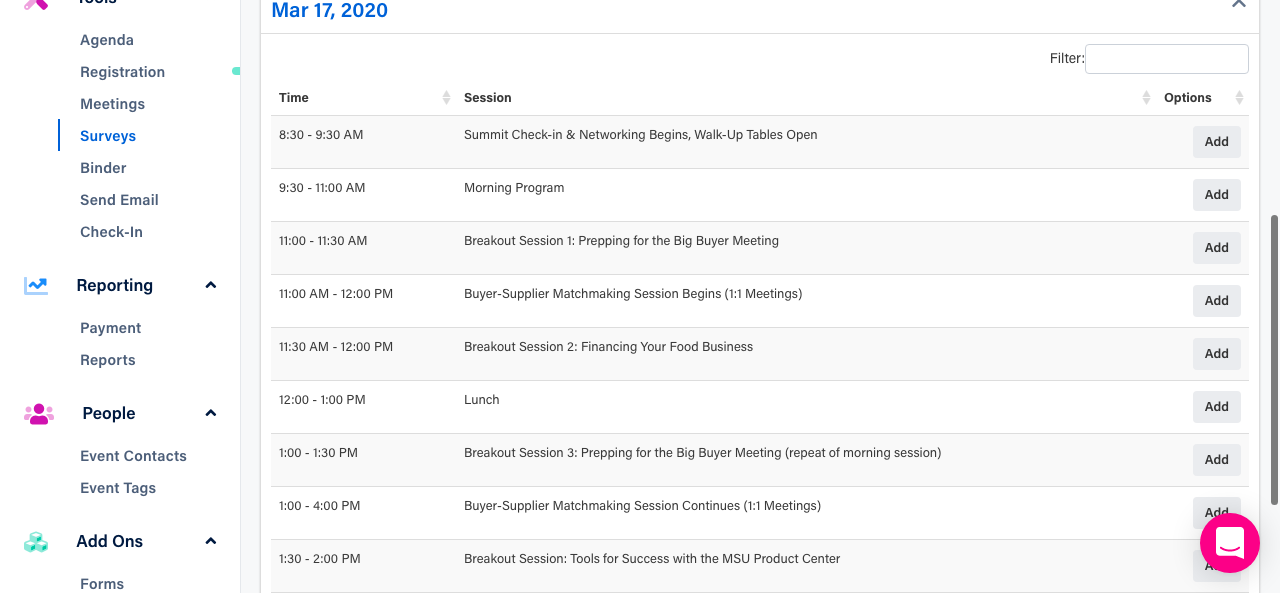
2) All of your breakout sessions for your event will display. Click the Session Survey button next to the Session you want to add a Survey to.
3) Type a question in the Question box and select your response options. You can choose from the following options:
- Enable star ratings;
- Enable comment box;
- Enable answers; and
- Archive Question.

Note: Archiving a question removes it from the Attendee’s view of the survey, but does not delete it. You will still see the question when you’re logged in with your Planner account, but it will be marked as archived.
4) To create custom responses, check the Enable answers box. Upon checking the box, the Answers section will appear. There, you can add the answers you want your Attendees to choose from.
5) Click the Submit button.
Did this answer your question?