Here's a quick start guide to understanding and using Registrant Types.
Do you have Sponsor Tiers that you don't want general attendees to see? Do you want to generate a registration link only for your members? If so, look no further than Registrant Types!
With Registrant Types you can now create separate, custom registration experiences specific to the different type of attendees at your event. Enabling you to create even more robust registrations than you could before.
Here's how you create a Registrant Type:
1) Click Registration in side navigation.
2) Click the Actions button, then select Registrant Types from the dropdown.
3) On the Registrant Types screen, click the Add Registrant Type button.
-2.png)
4) Select a name for your registrant type, then click More Options to further customize your registrant type.

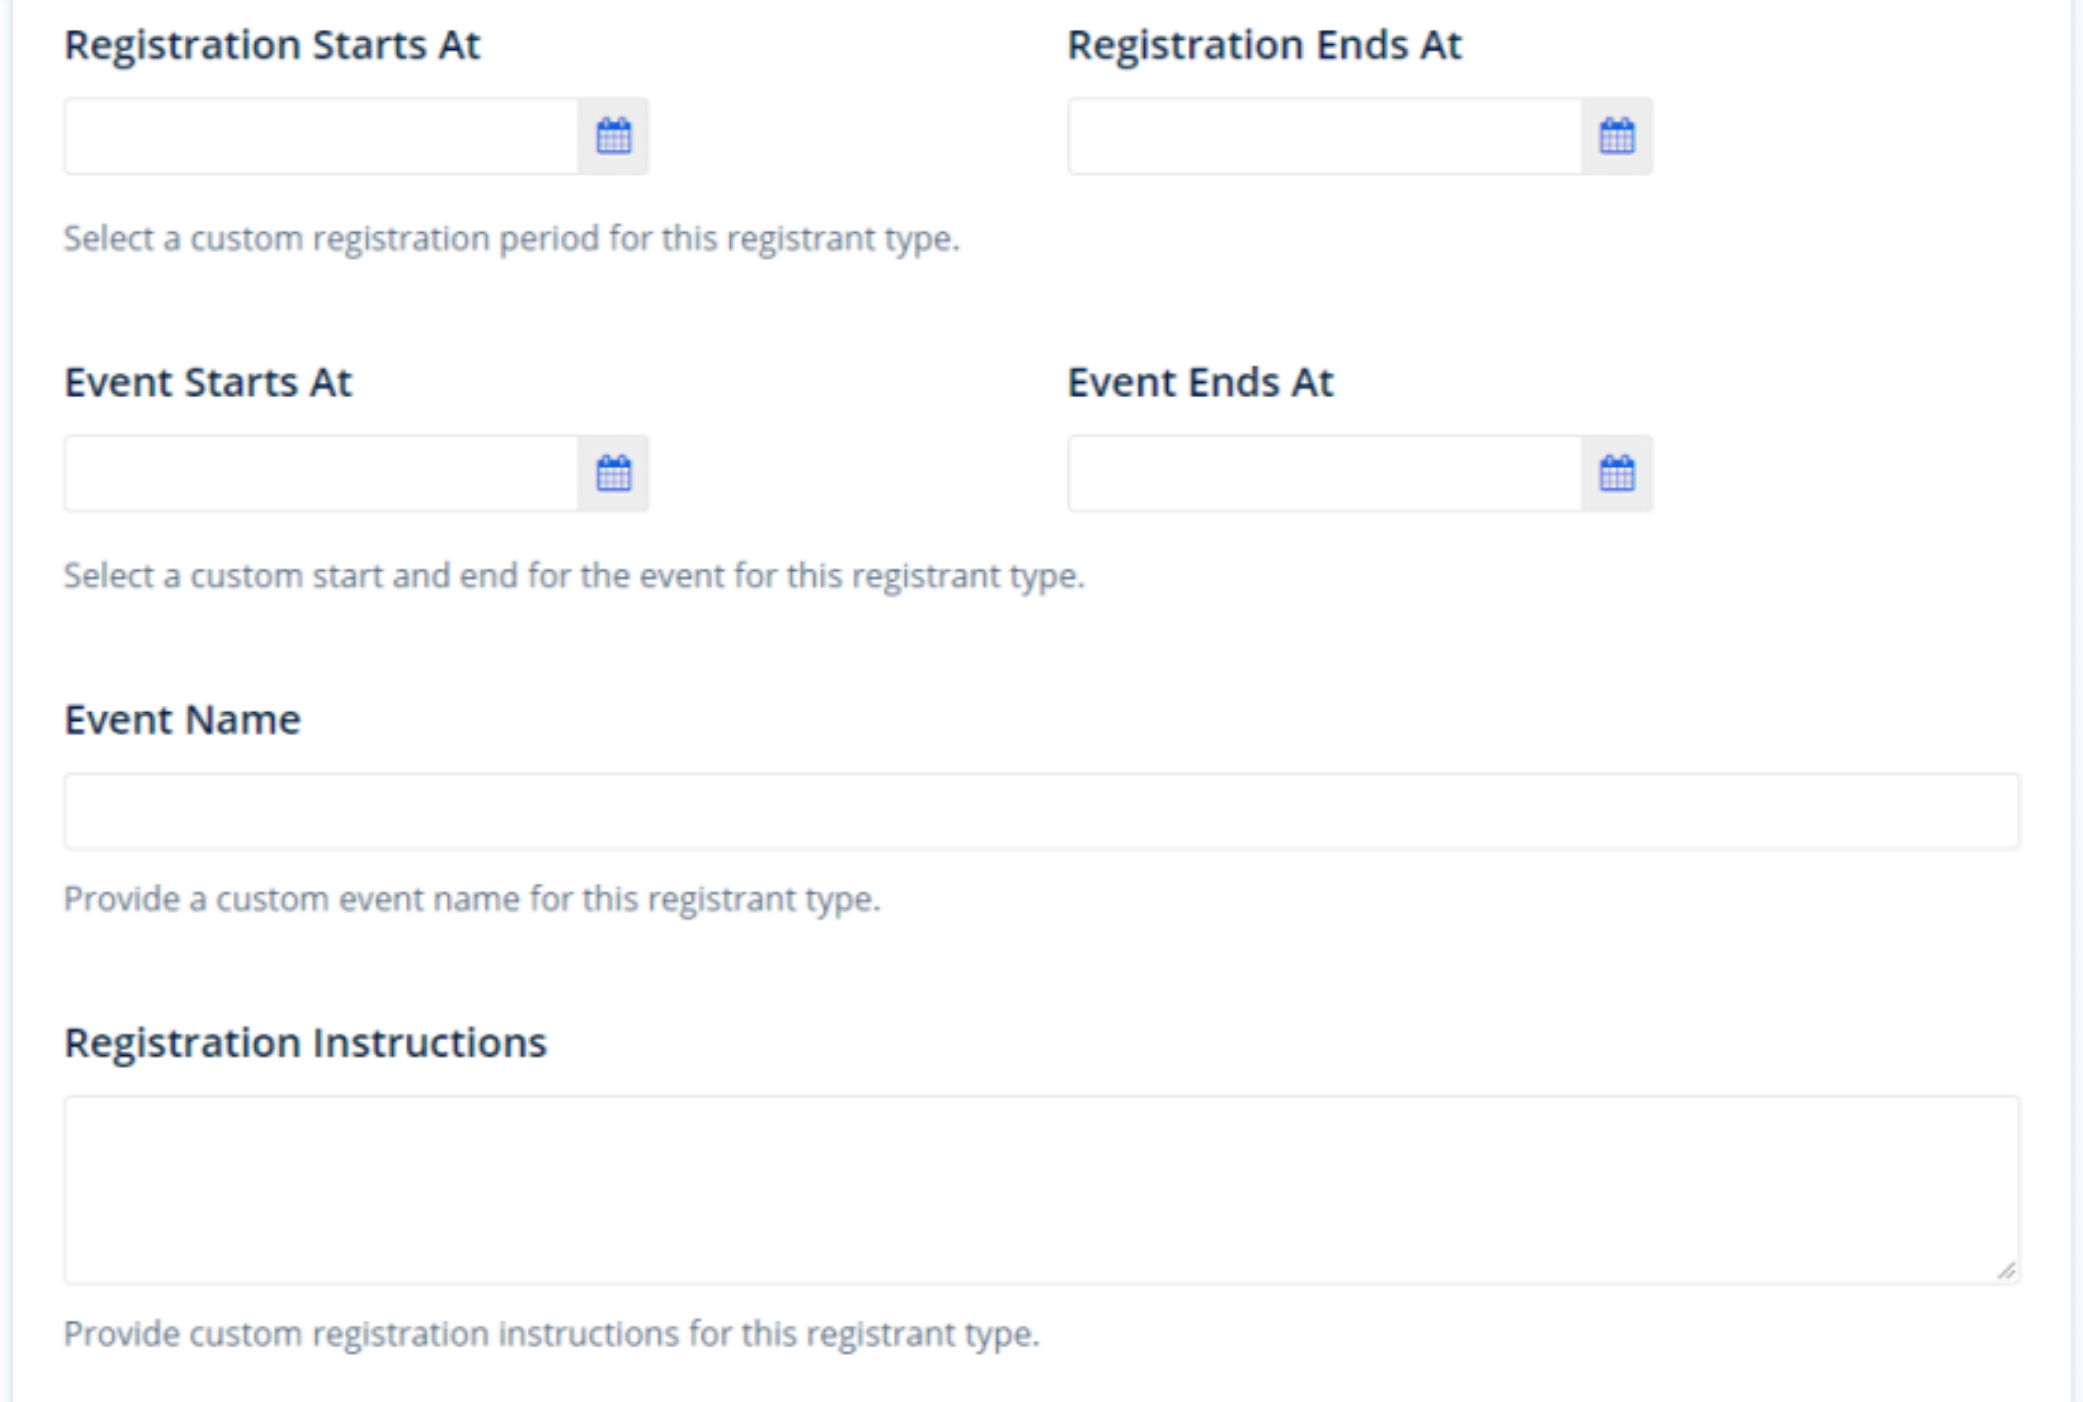
Most of the fields shown are fairly straightforward. You can create a description that will explain the registration type further as well as custom registration start and end times and custom event start and end times. The one thing that warrants a bit more explanation is the Access Methods field.
Access methods are the ways registrants will be able to find and select the appropriate registrant type.

URL generates a custom link to the registrant type.
Select displays the registrant type on the event site. It's important to note that if you don't have Select toggled on your Registrant Type won't show when people go to your registration.
Remember in the beginning when I asked if you wanted to create a Sponsor registration that was hidden from general attendees? To do that you'll need to toggle URL on and Select off, then you'll be able to share the link to the Sponsor registration without worrying that the general public will see it.
Did this answer your question?