In this article you'll learn about the different things you can do with discounts in Connect Space.
Summary
In this article we'll cover how to:
- Create a basic Discount
- Limit a Discount to select Price Tiers
- Limit how much the Discount can be used
- Set activation and expiration dates for the Discount
- Delete an unused Discount Code
Adding a Discount
1. Click Registration in the Side Navigation.
2. Click the Actions button, then select Discounts from the menu.
3. On the Discounts screen, click the Add Discount button.

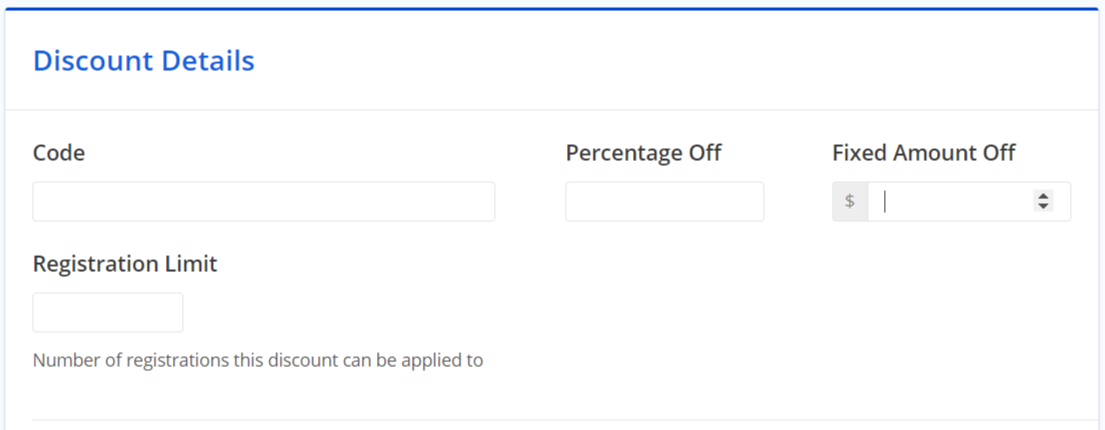
4. Fill out the Code you want registrants to enter to apply the Discount.
5. Enter either a percentage or fixed amount to be taken off the price.
6. OPTIONAL: Enter a limit on how many registrations can use the discount.
7. OPTIONAL: Scroll to the bottom of the page and click the calendar icons in the Active From and Active To inputs to set an activation and expiration date for your Discount.

NOTE: Discounts can't be stacked with other Discounts or Hidden Price Tiers!
For information on using Group Discounts please see How to Create a Group Discount
Limiting Discount to Select Price Tiers
1. Toggle Apply to Selected Price Tiers to On.
2. Click inside the input and choose which Price Tiers you want to limit the Discount to.
NOTE: You can choose to Limit a Discount to Hidden Price Tiers as well.
NOTE: Unused Discount codes can be deleted be clicking Remove, see below:
 Did this answer your question?
