The registration instructions section isn't just for text! Learn how to add an image in this article.
Summary
Many times you'll need to provide additional instructions regarding your Registration to Attendees, which is where our Registration Instructions section comes in. However, for those that want to get even more out of this space we've made this section a WYSIWYG editor, meaning you have more flexibility in how it appears.
You can edit the appearance and alignment of the text and also add images and video to further customize your event site.
This article covers how to add an image to this section.
1) To add an image to your registration instructions first you'll need to upload it to an online source. We like to use www.Imgur.com. This is to make sure we can pull a url address for the photo.
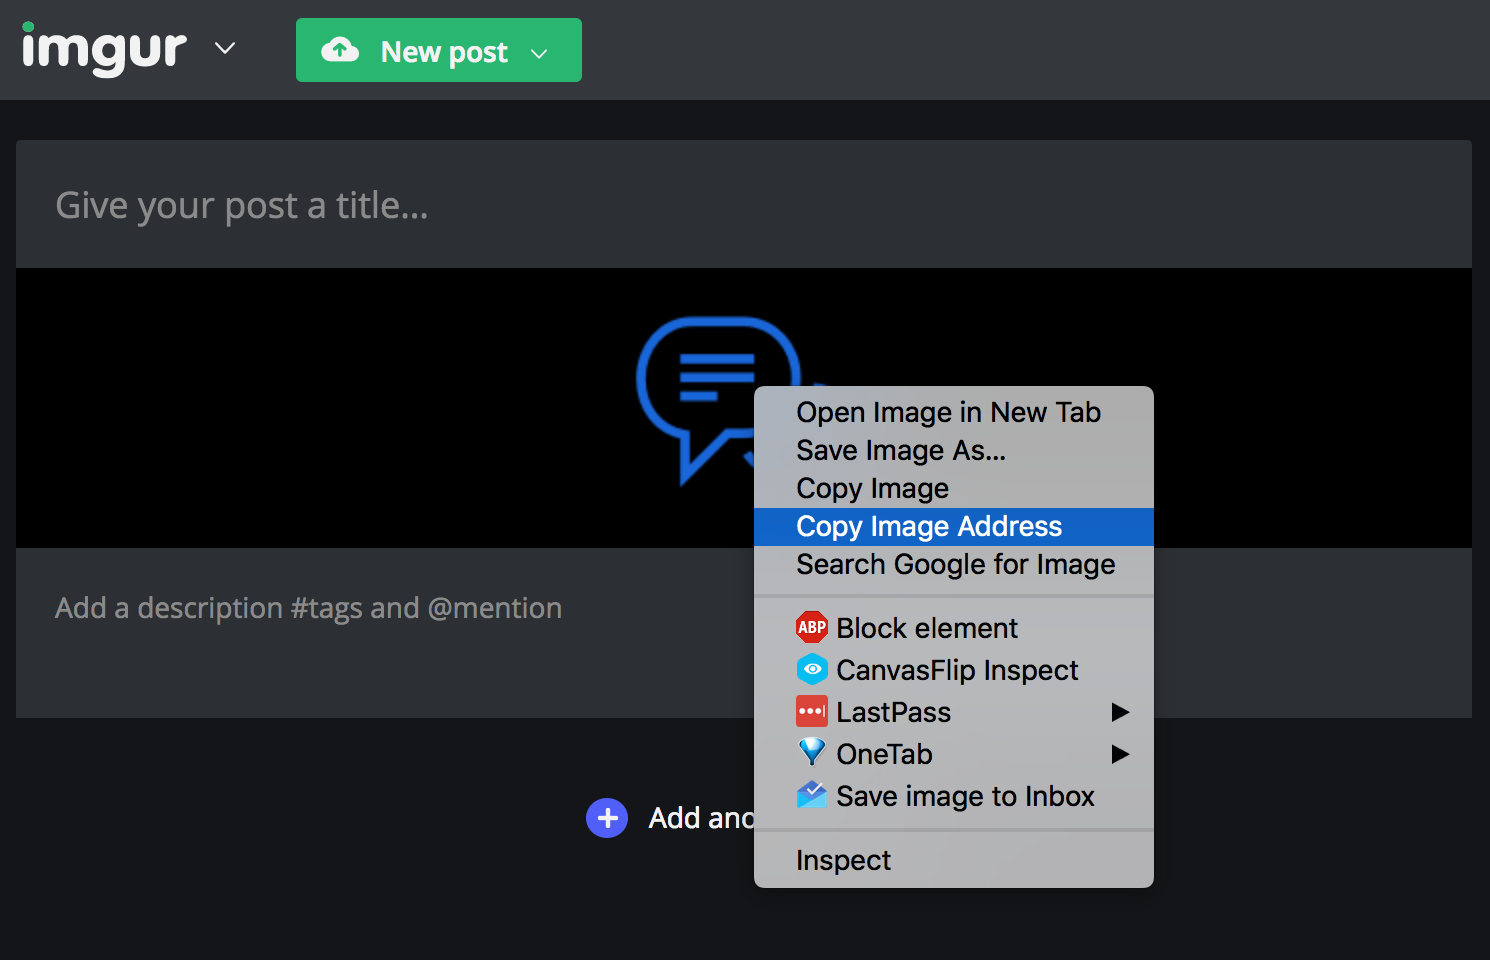
Upload the image, then 'Right Click' the photo and select Copy Image Address (to import a link) or Copy Image (to import an image) as shown below

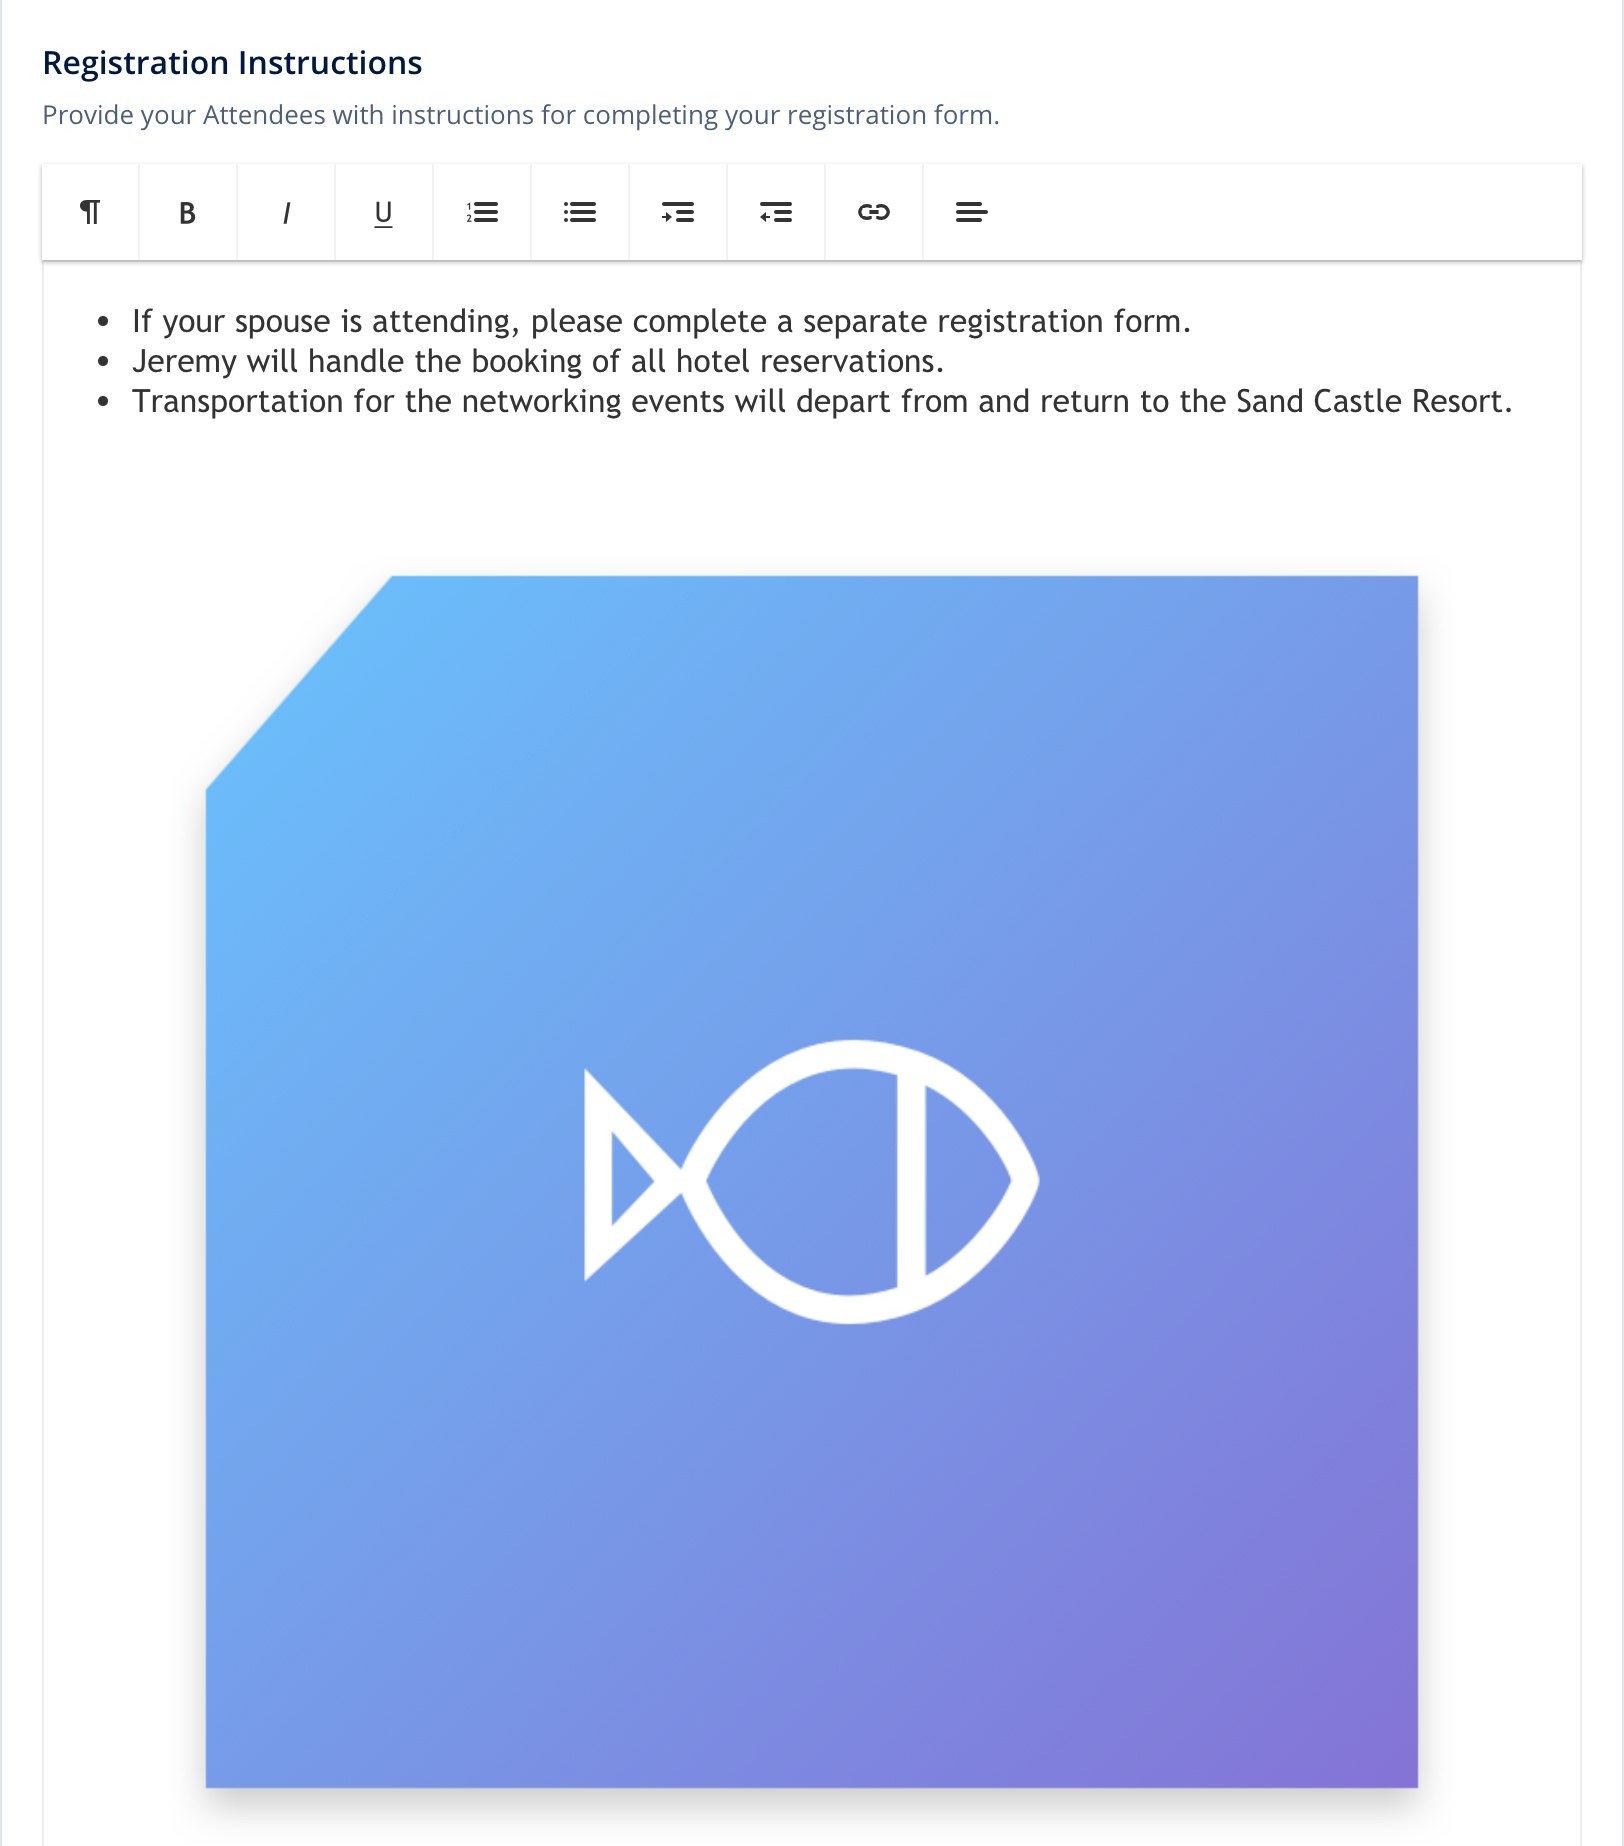
2) Head back to the Event Instructions in Connect Space and paste the photo into the area shown in the image below.

Once you paste it, the image will show up.
Note: If you would like to center the image, you can highlight the photo you've added and select the top right icon with the three horizontal lines and select 'Center Aligned'.
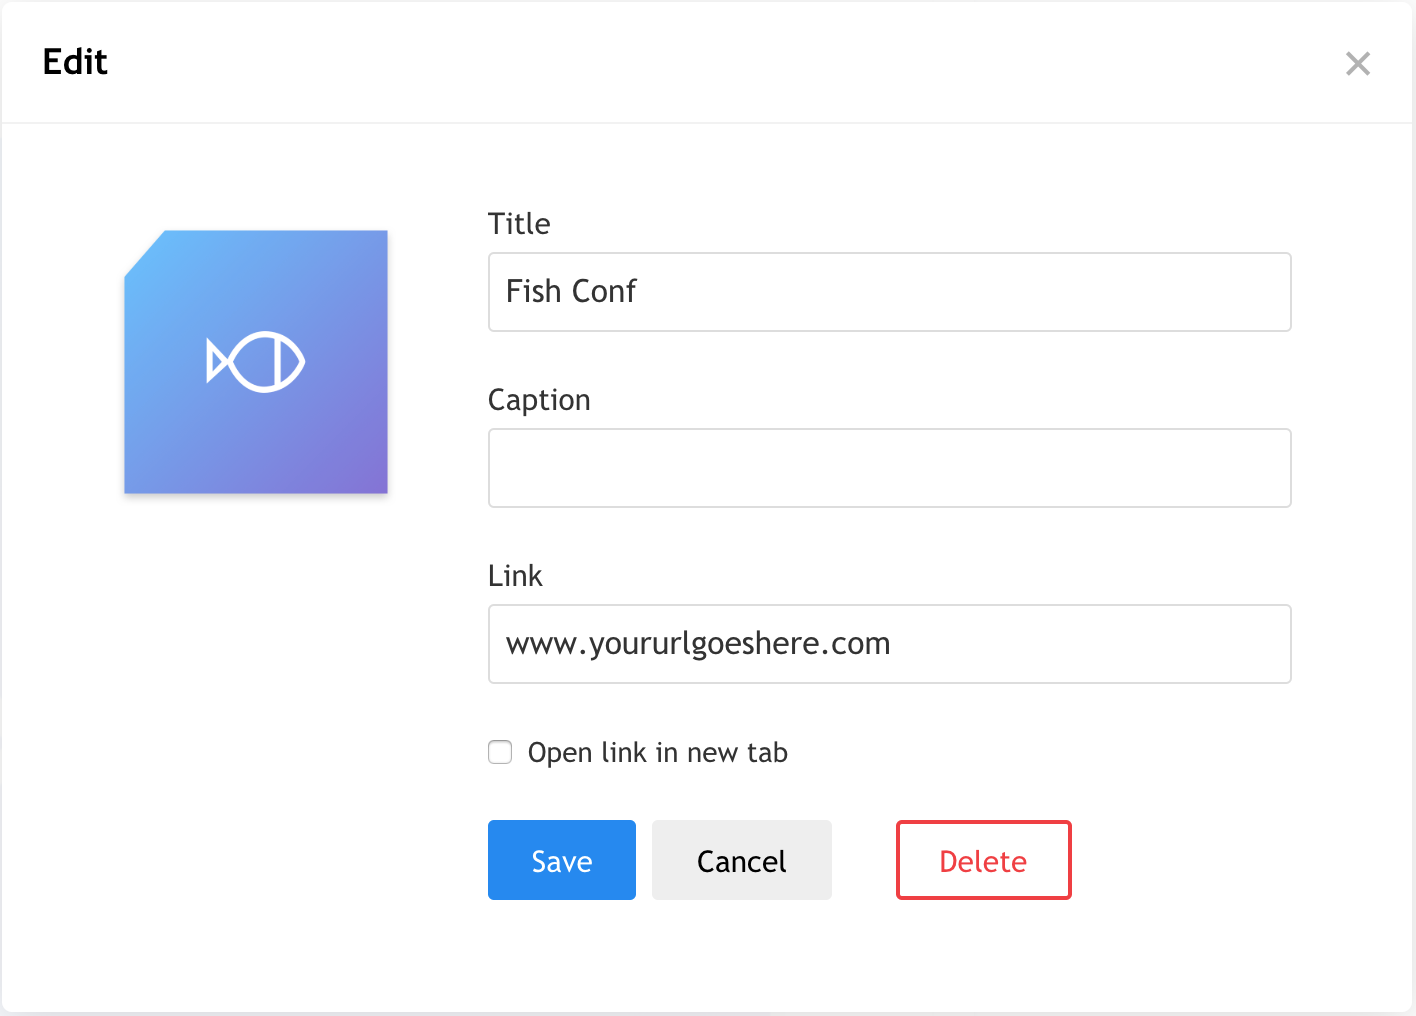
3) To add a link to the image click on the image after you've added it, and then paste the URL in the LINK section then click the Save button when you're done.

4) Don't forget to click the Save button at the bottom of the Event Settings page so you don't lose your work.
Did this answer your question?